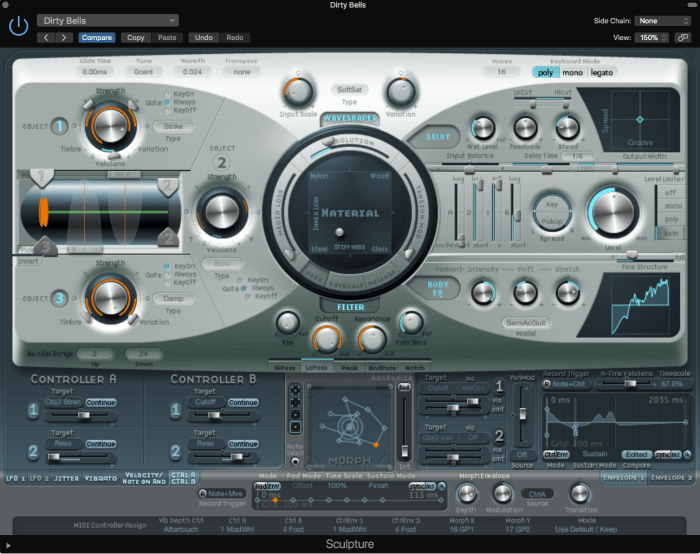
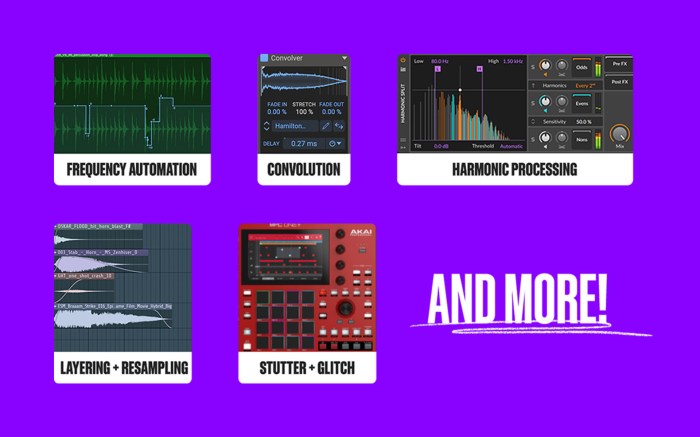
Sound design is more than just adding sound effects; it’s a crucial element in shaping the emotional landscape and user experience of any project, from video games to films to interactive installations. This guide delves into seven best practices for effective sound design, covering fundamental principles, mastering popular software, and implementing efficient workflows. We’ll explore the nuances of timbre, rhythm, and spatialization, while also examining the practical application of sound design tools and techniques.
Through practical examples and case studies, you will gain a comprehensive understanding of how to leverage sound design to enhance the impact and engagement of your projects. Whether you’re a seasoned professional or a budding enthusiast, this guide will equip you with the knowledge and skills to elevate your work to the next level.
Understanding Core Sound Design Principles

Effective sound design is crucial for enhancing the user experience across various media, from video games and films to interactive installations and virtual reality environments. A strong grasp of fundamental principles allows designers to craft soundscapes that are both aesthetically pleasing and functionally impactful, conveying specific emotions, enhancing narrative, and guiding user interaction. This section explores the core elements of sound design and the process of developing a sound design brief.
Sound design, at its core, manipulates the fundamental elements of sound to create a desired effect. These elements work together to build a cohesive and impactful soundscape. Understanding how these elements interact is key to successful sound design.
Fundamental Elements of Sound Design
Four key elements underpin all effective sound design: timbre, rhythm, dynamics, and spatialization. Mastering these allows for nuanced control over the emotional impact and overall feel of the soundscape.
Timbre refers to the unique tonal quality of a sound. It’s what differentiates a violin from a trumpet, even when they play the same note. Timbre is determined by the harmonic content and the envelope of the sound (attack, decay, sustain, release). Careful selection of timbre is crucial in setting the mood and atmosphere. For example, a bright, metallic timbre might evoke a sense of futuristic technology, while a warm, organic timbre might suggest nature or nostalgia.
Rhythm is the organization of sounds in time. It encompasses the tempo, beat, and meter, and contributes significantly to the overall energy and pacing of a soundscape. A fast, irregular rhythm might create tension or excitement, whereas a slow, regular rhythm could induce calmness or serenity. The use of rhythmic patterns can also help to guide the user’s attention and build anticipation.
Dynamics refers to the variations in loudness of a sound. Dynamic range, the difference between the loudest and quietest parts of a sound, is a crucial aspect of sound design. A wide dynamic range can create a more immersive and engaging experience, while a narrow dynamic range might feel flat or monotonous. The use of dynamics can also be used to emphasize certain elements or create dramatic shifts in mood.
Spatialization involves manipulating the perceived location and movement of sounds within a soundscape. This can be achieved through techniques such as panning (moving a sound from one speaker to another), reverb (simulating the reflections of sound in a space), and delay (creating echoes). Spatialization is particularly important in creating a sense of immersion and realism, particularly in 3D audio environments. For example, placing a sound off to the side can draw the listener’s attention to a specific element, while using reverb can create a sense of space and depth.
Creating a Sound Design Brief
A well-defined sound design brief is essential for a successful project. It serves as a roadmap, ensuring that the final product aligns with the project’s goals and target audience. The brief should clearly Artikel the project’s objectives, target audience, and desired emotional impact. It should also specify the technical requirements, such as the platforms for which the sound design is intended and any limitations on file size or format.
A comprehensive brief typically includes the following:
- Project Overview: A concise description of the project and its purpose.
- Target Audience: A detailed description of the intended audience, including their demographics, preferences, and expectations.
- Project Goals: Clearly defined objectives for the sound design, such as enhancing immersion, guiding user interaction, or conveying specific emotions.
- Style and Tone: A description of the desired aesthetic, including the overall mood, atmosphere, and genre.
- Technical Specifications: Details regarding the platforms, file formats, and any other technical constraints.
- Budget and Timeline: A realistic budget and a clearly defined timeline for completion.
Sound Design and Emotional Response
Different sound design choices can evoke specific emotions and create distinct atmospheres. For instance, high-pitched sounds with bright timbres are often associated with happiness and excitement, while low-pitched sounds with dark timbres can evoke feelings of sadness or fear. The use of rhythm and dynamics also plays a crucial role in shaping the emotional response. A fast tempo and loud dynamics might create a sense of urgency or tension, while a slow tempo and soft dynamics might create a sense of peace or tranquility.
Consider the use of sound effects: a sharp, metallic clang might signify danger, while the gentle rustling of leaves might evoke a sense of serenity. The careful selection and manipulation of sound elements allow designers to subtly or dramatically influence the emotional landscape of a project.
Comparative Table of Sound Design Tools
Numerous software tools are available for sound design, each with its own strengths and weaknesses. The choice of tool depends on the specific needs of the project and the designer’s preferences and experience.
| Tool Name | Primary Function | Strengths | Weaknesses |
|---|---|---|---|
| Ableton Live | Digital Audio Workstation (DAW) | Powerful MIDI sequencing, flexible routing, extensive effects library, intuitive workflow | Can be expensive, steep learning curve for beginners |
| Audacity | Open-source DAW | Free and readily available, user-friendly interface, suitable for basic audio editing and sound design | Limited advanced features compared to commercial DAWs |
| Max/MSP | Visual programming environment | Highly flexible and customizable, ideal for creating unique and complex sounds, strong for interactive installations | Steep learning curve, requires programming knowledge |
| Sound Forge | Audio editing and mastering software | Powerful audio editing capabilities, excellent for mastering and restoration, high-quality processing | Primarily focused on audio editing rather than synthesis |
Mastering Popular Sound Design Software

Choosing the right sound design software is crucial for efficient and creative workflow. The market offers a variety of options, each with its strengths and weaknesses. Understanding these differences is key to selecting the tool best suited to your needs and skill level. This section will compare three leading applications, explore effects processing, and detail the creation of a specific sound effect.
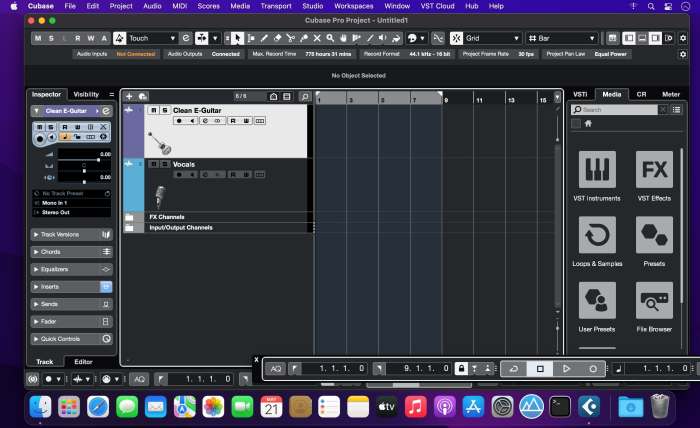
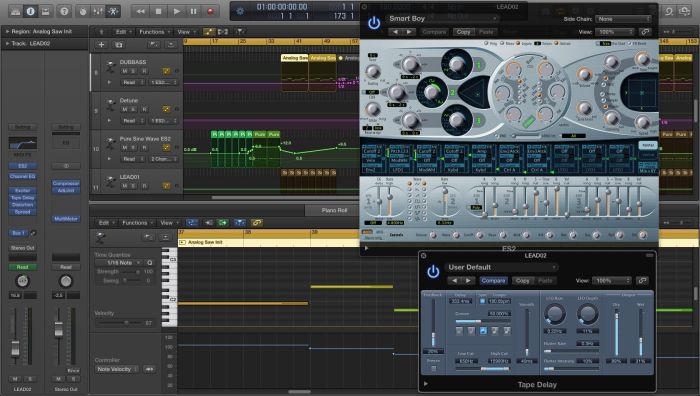
Three leading sound design applications – Ableton Live, Logic Pro X, and Reaper – offer distinct workflows and feature sets. Ableton Live, known for its session view and intuitive arrangement, excels in creating dynamic and evolving soundscapes. Its strong MIDI capabilities and extensive library of instruments make it a popular choice for electronic music producers and sound designers working with generative processes. Logic Pro X, a comprehensive DAW, provides a powerful and versatile environment for sound design, incorporating a wide array of virtual instruments, effects, and automation tools. Its robust MIDI editing capabilities and integration with other Apple products make it a strong contender for Mac users. Reaper, a highly customizable and efficient DAW, stands out for its flexibility and affordability. Its extensive plugin support and lightweight footprint allow users to tailor the software to their specific needs and hardware limitations, making it a popular choice for users on various systems and budgets.
Effects Processing in Sound Design
Effects processing is integral to shaping and enhancing sounds. Equalization (EQ) allows for precise frequency adjustments, sculpting the tonal balance of a sound. Compression controls the dynamic range, making sounds louder and more consistent. Reverb simulates the acoustic environment, adding space and depth. Delay introduces echoes, creating rhythmic and textural effects. The skillful application of these effects is crucial in achieving the desired sonic character. For instance, a snare drum might benefit from EQ to boost its presence in the mix, compression to even out its volume, and reverb to place it in a virtual space. Similarly, a synthesized pad might utilize delay to create a shimmering effect, and reverb to enhance its ethereal quality.
Designing and Implementing a Sound Effect: Footsteps
Let’s illustrate the sound design process by creating a realistic footstep sound effect. We’ll start with recording the base sound, then proceed with processing to refine and enhance the result. The initial recording should be captured in a controlled environment to minimize unwanted noise. Different surfaces will yield varying sounds. After recording, we’ll carefully edit the sound, removing any unwanted artifacts or clicks. This involves utilizing tools like noise reduction and spectral editing. Next, EQ will be applied to shape the frequency response, focusing on the low-mid frequencies for body and the high frequencies for clarity. A touch of compression will even out the dynamic range, making the footstep more consistent. Finally, a subtle amount of reverb can be added to simulate the environment, making the footstep sound natural within its space.
Creating Realistic Footsteps in Ableton Live
The following steps Artikel the creation of realistic footsteps using Ableton Live:
First, record the base sound of footsteps on the desired surface using a high-quality microphone. Ensure a clean recording environment to minimize background noise. Then, import the recording into Ableton Live.
- Editing: Remove any unwanted noise or clicks using Ableton Live’s editing tools. Zoom in to carefully edit out any extraneous sounds.
- EQ: Use an EQ plugin (e.g., Ableton’s EQ Eight) to boost the low-mid frequencies (around 250-500 Hz) for body and the high frequencies (around 5-8 kHz) for clarity. Cut any muddiness in the low end.
- Compression: Apply a compressor (e.g., Ableton’s Compressor) to even out the dynamic range. Use a moderate ratio and threshold to maintain natural dynamics while improving consistency.
- Reverb: Add a subtle amount of reverb (e.g., Ableton’s Reverb) to simulate the environment. Adjust the decay time and size parameters to create a natural sense of space. A short decay time is suitable for a hard surface, while a longer decay is better for softer surfaces.
- Final Adjustments: Listen critically to the final result and make any necessary adjustments to EQ, compression, and reverb to achieve the desired realism.
Implementing Best Practices for Effective Sound Design

Effective sound design hinges not only on technical skill but also on a robust workflow that prioritizes organization, iteration, and the avoidance of common pitfalls. A well-structured project allows for efficient collaboration and ensures the final product meets the desired creative vision. This section details best practices to enhance your sound design process and improve the overall quality of your work.
Project Organization and File Management
Maintaining a clear and consistent project structure is crucial for efficient sound design. Disorganized files lead to wasted time searching and increased risk of errors. A logical folder system, using descriptive names and a consistent naming convention, is essential. For example, you might organize projects by client, then by project name, with subfolders for source sounds, processed sounds, and final mixes. File names should be descriptive and consistently formatted (e.g., “ClientName_ProjectName_SoundEffect_v01.wav”). Using metadata tags within your audio files to further categorize and describe sounds also aids in efficient project management. This approach ensures easy retrieval and avoids confusion, especially when working on large or complex projects.
Iterative Design and Revision
Sound design is rarely a linear process; iterative design is key to achieving high-quality results. This involves creating initial drafts, testing them in context, and then refining based on feedback and further experimentation. Each iteration should build upon the previous one, progressively improving the sound’s quality and effectiveness. Version control is crucial here; saving multiple versions allows for easy comparison and rollback if needed. Regular listening tests, both in isolation and within the final project, help identify areas for improvement and ensure the sound design aligns with the overall creative vision.
Common Pitfalls and Mitigation Strategies
Several common pitfalls can hinder the effectiveness of sound design. One common mistake is neglecting the importance of context. Sounds that work well in isolation might not integrate seamlessly into a larger project. Another frequent issue is over-processing, which can lead to muddiness and a lack of clarity. Finally, neglecting the importance of spatialization and the relationship between sounds can diminish the immersive experience. To avoid these problems, it is vital to consistently test your sound designs within the intended context, to restrain the use of excessive effects, and to focus on the relationships between different sounds to create a cohesive soundscape.
Case Study: Sound Design for a Sci-Fi Trailer
This case study analyzes the sound design for a science fiction film trailer. The goal was to create a dramatic and suspenseful soundscape that effectively showcased the film’s atmosphere and key themes.
- Desired Outcome: To generate a sense of mystery, tension, and futuristic technology through sound design.
- Creative Choices: The sound design relied heavily on the use of layered soundscapes, incorporating both realistic and abstract elements. This included the use of distorted metallic sounds to evoke advanced technology, alongside deep, resonant drones to establish a sense of mystery and foreboding. Subtle, unsettling sounds were introduced gradually, building tension throughout the trailer.
- Technical Solutions: The sound design process involved utilizing several digital audio workstations (DAWs), including Ableton Live and Pro Tools. Various plugins were used for processing, including reverb, delay, distortion, and granular synthesis. The team leveraged spatial audio techniques to place sounds within a virtual 3D environment, enhancing the immersive experience. The process involved numerous iterations, refining each element to ensure a seamless blend and optimal impact.
- Tools Employed: Ableton Live, Pro Tools, various plugins (Waves, FabFilter, Native Instruments), Izotope RX for noise reduction and restoration.
Epilogue

By understanding core sound design principles, mastering industry-standard software, and implementing efficient workflows, you can create immersive and impactful audio experiences. This guide has provided a framework for achieving excellence in sound design, emphasizing iterative design, careful planning, and a keen understanding of your target audience. Remember, effective sound design is an iterative process; continuous refinement and attention to detail are crucial for achieving optimal results.