Unlock your creative potential with Procreate! This guide delves into five essential tips to elevate your digital art. We’ll explore Procreate’s powerful tools, from mastering brush customization to harnessing the magic of layers and blending modes. Learn how to create compelling compositions using design principles like the rule of thirds and color theory, transforming your digital sketches into stunning works of art.
Beyond the technical aspects, we’ll guide you through efficient workflows, time-saving shortcuts, and non-destructive editing techniques. Whether you’re a beginner or seeking to refine your existing skills, this comprehensive guide will empower you to create breathtaking digital art using Procreate.
Mastering Procreate’s Interface and Tools
Procreate’s intuitive interface and powerful tools are key to unlocking its creative potential. Understanding its features allows for efficient workflow and the creation of stunning digital art. This section will explore Procreate’s brush types, custom brush creation, and the effective use of layers, blending modes, and selection tools.
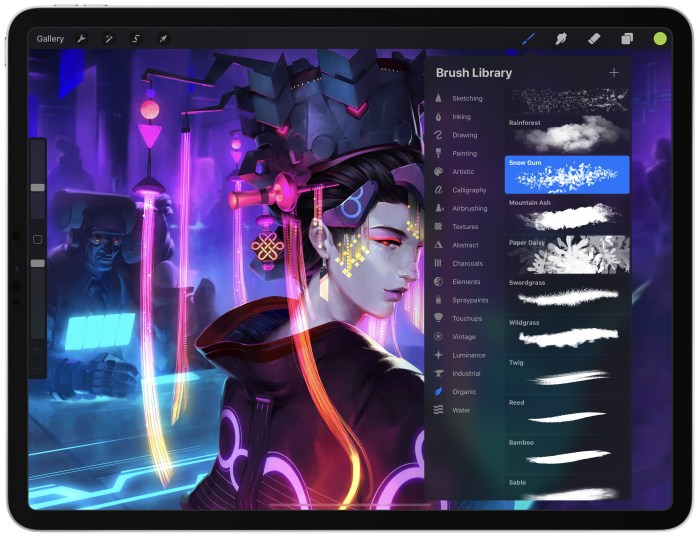
Procreate Brush Types and Applications
Choosing the right brush is crucial for achieving the desired artistic effect. Different brushes offer varying textures, opacity controls, and are better suited for specific stages of the digital painting process. The following table Artikels several brush types and their ideal applications:
| Brush Name | Texture | Opacity Control | Best Application |
|---|---|---|---|
| Monoline | Smooth, consistent line | Fixed or adjustable | Inking, line art, precise details |
| Dry Brush | Rough, textured, slightly opaque | Adjustable | Sketching, painting fur or textured surfaces |
| Wet Brush | Soft, blended edges, high opacity | Adjustable | Painting, blending colors, creating smooth transitions |
| Airbrush | Soft, diffused, low opacity | Adjustable | Adding highlights, soft shading, creating atmospheric effects |
| Studio Pen | Smooth, pressure-sensitive line | Adjustable | Sketching, inking, calligraphy |
Creating Custom Brushes in Procreate
Procreate allows for extensive customization of brushes, enabling artists to create tools perfectly tailored to their style. This empowers artists to develop a unique workflow and artistic voice.
- Import a Shape: Begin by importing a shape or image that will serve as the basis of your brush. This could be a texture, a hand-drawn line, or any image file.
- Adjust Brush Settings: Once imported, you can fine-tune various settings. These include adjusting the brush’s size, shape, spacing, opacity, and flow. Experiment with different settings to achieve the desired effect.
- Refine Brush Dynamics: Procreate offers controls over brush dynamics, allowing for pressure sensitivity adjustments, tilt sensitivity, and velocity sensitivity. These dynamics impact the brush’s behavior as you draw, adding expressiveness to your strokes.
- Save Your Brush: Once you are satisfied with your custom brush, save it to your brush library for easy access in future projects.
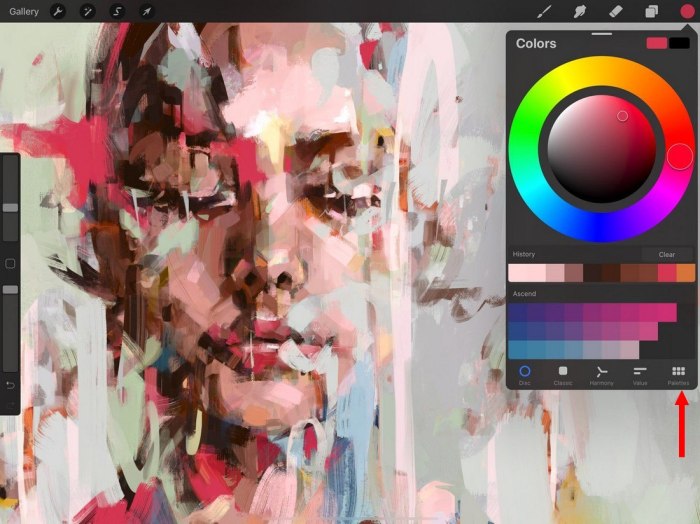
Utilizing Layers, Blending Modes, and Selection Tools
Layers, blending modes, and selection tools are fundamental to creating depth and visual interest in digital art. Mastering these features allows for precise control over your artwork.
Procreate’s layers allow you to work on separate elements of your artwork independently, enabling non-destructive editing. For example, you might create separate layers for sketching, inking, base colors, and shading. This keeps your artwork organized and allows for easy adjustments.
Blending modes alter how layers interact, creating a vast range of effects. For instance, using the “Multiply” blending mode darkens the underlying layer, ideal for adding shadows. “Overlay” adds contrast and vibrancy, and “Screen” brightens the underlying layer, useful for creating highlights. Experimenting with different blending modes can lead to surprising and innovative results.
Selection tools, such as the lasso, rectangular selection, and magic wand, allow for precise control over areas you wish to edit. This enables isolating parts of your artwork for specific manipulations, such as applying color adjustments or effects to a particular section without affecting other areas. Combining selection tools with layers and blending modes offers maximum control and flexibility.
Developing Effective Composition and Design Principles
Effective composition is crucial for creating visually appealing and impactful digital artwork. Understanding and applying design principles elevates your Procreate creations from simple drawings to compelling pieces of art. This section will explore key compositional techniques and color theory’s role in enhancing your digital paintings.
The Rule of Thirds
The rule of thirds is a fundamental compositional guideline. It suggests dividing your canvas into nine equal parts using two equally-spaced horizontal lines and two equally-spaced vertical lines. Key elements, like focal points, should be placed along these lines or at their intersections. This creates a more visually balanced and engaging composition than simply centering the subject. Imagine a Procreate landscape painting of a majestic mountain range. Instead of placing the mountain peak directly in the center, positioning it along the upper-third horizontal line, with the base of the mountains sitting along the lower third, creates a more dynamic and naturally pleasing arrangement. The sky occupies the upper third, emphasizing the mountain’s grandeur, while the lower third provides space for foreground elements like a tranquil lake or a lush forest, adding depth and context to the scene. This strategic placement prevents the image from feeling static or overly symmetrical.
Color Theory in Digital Painting
Color theory significantly impacts the mood and message of your artwork. Understanding color harmonies allows you to evoke specific emotions and create visual unity.
- Complementary Colors: These are colors opposite each other on the color wheel (e.g., red and green, blue and orange). Used together, they create high contrast and visual excitement. A vibrant red flower against a lush green background is a classic example of complementary color usage. The intense contrast draws the viewer’s eye to the flower while the green provides a calming backdrop.
- Analogous Colors: These are colors adjacent to each other on the color wheel (e.g., blue, blue-green, and green). They create a harmonious and serene effect. A seascape painting using shades of blue, blue-green, and green would evoke a calm and tranquil feeling, reflecting the peaceful nature of the ocean.
- Triadic Colors: These are three colors evenly spaced on the color wheel (e.g., red, yellow, and blue). They offer a vibrant and balanced palette. A painting depicting a lively market scene might utilize a triadic scheme of red, yellow, and blue to capture the energy and variety of colors present. The interplay of these colors adds dynamism and visual interest.
Composition Techniques: Thumbnails
Creating thumbnails before starting a large piece is a valuable exercise in exploring composition. These small sketches allow you to experiment with different arrangements without investing too much time in detail.
- Leading Lines: These are lines within the artwork that guide the viewer’s eye to the focal point. A thumbnail could show a path winding through a forest, leading to a cabin in the distance. The lines draw the viewer’s eye towards the cabin, establishing a clear focal point and creating a sense of depth.
- Symmetry: This creates balance and harmony through mirroring. A thumbnail might depict a perfectly symmetrical building reflecting in a still pond. The mirroring effect creates a sense of order and tranquility.
- Asymmetry: This technique uses intentional imbalance to create visual interest and dynamism. A thumbnail might show a lone tree on a hillside, offset to one side of the frame. This imbalance creates a sense of tension and dynamism, contrasting the solitude of the tree against the vastness of the landscape.
Refining Your Digital Artwork

Refining your digital painting in Procreate involves a multi-stage process that builds upon the initial sketch and composition. This iterative approach allows for gradual improvement and the exploration of different artistic choices without the limitations of traditional media. The key is to utilize Procreate’s powerful features effectively, embracing non-destructive editing to maintain flexibility throughout the workflow.
A typical workflow starts with a rough sketch, progresses through line refinement and detail addition, and culminates in color adjustment and final rendering. Each stage benefits from Procreate’s tools and features, enhancing efficiency and artistic control. Understanding this workflow empowers artists to achieve their vision with greater precision and speed.
A Detailed Workflow for Digital Painting in Procreate
This section Artikels a typical workflow, starting from a rough sketch to a fully rendered piece. It highlights the iterative nature of the process, emphasizing the importance of non-destructive editing.
The process begins with a rough sketch on a new layer. This sketch serves as a blueprint, defining the composition and key elements. Using a low opacity brush, the artist can freely experiment with different poses, perspectives, and compositions. Once satisfied, the artist moves to refining the lines. This involves using a higher opacity brush to solidify the lines and add more detail. Specific features like the Procreate smoothing function or the use of a stabilizer can enhance the accuracy and fluidity of the lines. The next stage involves adding details. This could involve rendering textures on clothing, adding subtle facial features, or incorporating environmental details. Throughout this process, layers are crucial for maintaining organization and allowing for non-destructive edits. Once the line art and details are complete, the artist moves to color. Base colors are laid down on separate layers, allowing for easy adjustments. The artist then uses various blending modes, such as Multiply or Overlay, to create depth and richness. Finally, the artist refines the colors, adjusting values and saturation using adjustment layers and masking techniques. This ensures that the final piece is cohesive and visually appealing.
Utilizing Non-Destructive Editing Techniques
Procreate’s strength lies in its non-destructive editing capabilities. This allows for experimentation and correction without permanently altering the original artwork. This section illustrates how adjustment layers and masks contribute to a flexible workflow.
Adjustment layers, similar to those found in Photoshop, allow for global color and value adjustments without affecting the underlying layers. For instance, a curves adjustment layer can be used to globally adjust the contrast and brightness of the entire painting. Similarly, a color balance layer can be used to subtly shift the overall color temperature. These layers can be easily modified or deleted without impacting the original artwork. Masks further enhance non-destructive editing. They allow for selective application of adjustments or effects to specific areas of the canvas. For example, a mask can be used to apply a darkening effect only to a specific area of the painting, creating depth and shadow. By using adjustment layers and masks, artists can freely experiment with different color palettes and lighting effects, knowing that they can always revert to the original artwork if necessary.
Procreate’s Time-Saving Features and Shortcuts
Procreate incorporates numerous time-saving features and shortcuts designed to streamline the workflow and improve efficiency. Understanding and utilizing these features can significantly reduce the time spent on repetitive tasks and allow artists to focus on the creative aspects of their work.
Procreate offers a variety of features and shortcuts designed to boost productivity. For example, using the Quick Menu provides fast access to frequently used brushes, colors, and layers. Customizing the Quick Menu allows artists to prioritize their most used tools for even quicker access. The ability to quickly duplicate layers, using the duplication shortcut, is essential for creating variations or experimenting with different approaches without starting from scratch. Another time-saving feature is the use of Procreate’s selection tools and the ability to quickly mask areas. This feature allows artists to focus adjustments to specific areas of the canvas, saving time and preventing accidental alterations to other areas. The Undo/Redo function is indispensable, allowing for quick corrections and experimentation without fear of irreversible changes. Finally, the use of actions can automate repetitive tasks, such as applying a specific set of filters or adjustments. This feature allows for consistency and efficiency when applying similar effects to multiple artworks. Mastering these shortcuts can dramatically increase the speed and efficiency of the digital painting process.
Ultimate Conclusion

Mastering Procreate is a journey of continuous learning and experimentation. By implementing these five tips – from understanding your tools to refining your workflow – you’ll significantly improve your digital art creation process. Embrace the power of Procreate, explore its limitless possibilities, and watch your artistic vision come to life. Remember, practice makes perfect, so keep creating and refining your skills!